Web pages are not just about text and links. They can also contain images, sound, and video that make them more attractive, engaging, and informative. In this part of the HTML tutorial, you will learn how to add these multimedia elements to your web pages using HTML tags and attributes.
Adding Images to Your Pages
Images are added using the <img> tag. The img tag allows you to display images on your web pages, such as photos, logos, icons, diagrams, and more. The <img> is an empty tag, meaning it does not have a closing tag. It only has attributes that specify the image's source, size, and alternative text. Here are some of the popular attributes of the <img> tag:
src: specifies the URL of the image file that you want to display. It is required for the<img>tag.alt: provides a text alternative for the image in case it cannot be displayed or accessed by some users or devices. Thealtattribute should describe the content and function of the image as briefly and accurately as possible. It is also required for the<img>tag.widthandheightattributes: They specify the width and height of the image in pixels. They are optional for the<img>tag. You can use these attributes to resize your image to fit your web page layout. However, it is recommended to use CSS instead of HTML to control the size and appearance of your images.
There are many other attributes that you can use with the <img> tag. You can learn more about them from W3C HTML resources.
Images can be added to web pages using HTML in the following ways:
1. Linking to an image
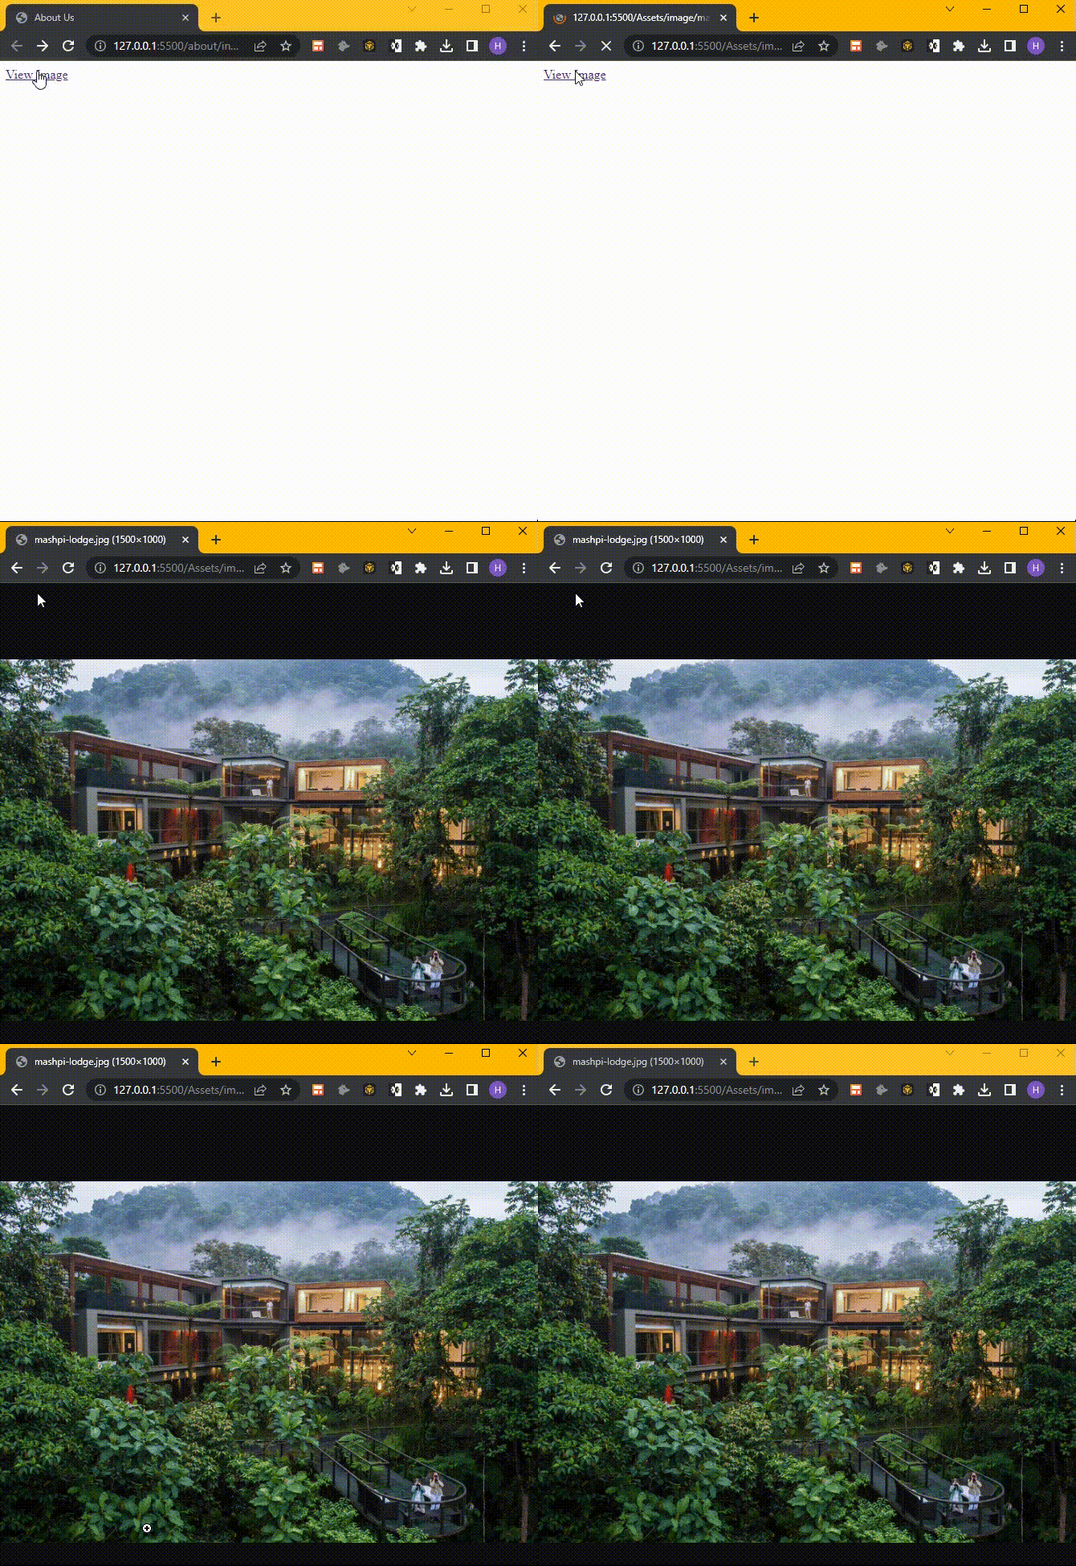
The easiest way to incorporate images is to link to them. This works similar to how we link to other pages.
<a href="../Assets/image/mashpi-lodge.jpg">View Image</a>

2. Embedding images using the <img> tag
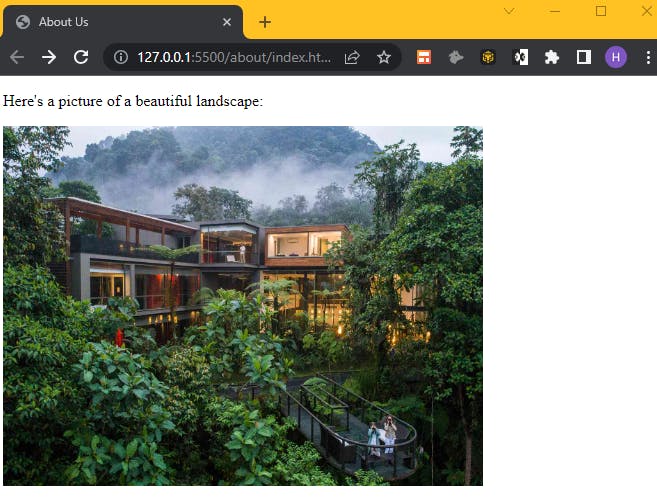
Images can be embedded directly into the content of a web page to illustrate concepts, provide visual context, or enhance the overall user experience.
<p>Here's a picture of a beautiful landscape:</p>
<img height="360" width="480" src="../Assets/image/mashpi-lodge.jpg" alt="Beautiful Landscape">

Another common way to add images to a web page is as the page's background image. Adding background images to web pages requires knowledge of CSS, which is beyond the scope of the course.
Working with Audio
Adding audio on web pages allows you to add sound elements to enhance user experiences, whether it's background music, podcasts, or audio tutorials.
The <audio> tag is used to add audio in HTML. Unlike the <img> tag, it is not an empty element. It can contain one or more <source> tags that specify the source, type, and quality of the sound file. It can also contain text or other elements that will be displayed if the browser does not support the <audio> tag. Here are some of the popular attributes of the <audio>:
src: specifies the URL of the sound file that you want to play. You can use this attribute if you only have one source for your sound file. If you have multiple source files, use the<source>tags instead. It is an optional attribute for the<audio>tag.The
controlsattribute is also optional for the<audio>tag. It specifies whether or not to display the default controls for the sound file, such as play, pause, volume, and progress bar. You can use this attribute if you want to give the user the option to control the playback of your sound file.The
autoplayattribute is another optional attribute for the<audio>tag. It specifies whether or not to start playing the sound file as soon as it is loaded. You can use this attribute if you want to play your sound file automatically without user interaction. However, this attribute may be ignored by some browsers or devices for user experience or data-saving reasons.loop: used to make the audio continuously repeat.
Embedding Audio Using the <src>Attributes
<audio src="audio.mp3" controls></audio>
Embedding Audio Using the <source >Tags
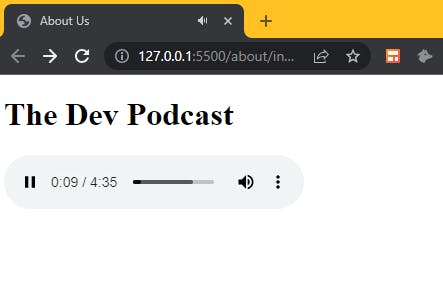
<h1>The Dev Podcast</h1>
<audio controls autoplay>
  <source src="audio.mp3" type="audio/mpeg">
  <source src="audio.ogg" type="audio/ogg">
  Your browser does not support the audio element.
</audio>

Adding Video
Adding videos on web pages allows you to incorporate visual content. HTML5 provides the <video> element for embedding videos into web content. The <video> tag is similar to the <audio> tag. It can contain one or more <source> tags that specify the source, type, and quality of the video file. It can also contain text or other elements that will be displayed if the browser does not support the <video> tag. Here are some of the popular attributes of the <video> tag:
The
srcattribute is optional for the<video>tag. It specifies the URL of the video file that you want to play. You can use this attribute if you only have one source for your video file.The
controlsattribute specifies whether or not to display the default controls for the video file, such as play, pause, volume, progress bar, and fullscreen. You can use this attribute if you want to give the user the option to control the playback of your video file.The
autoplayattribute is another optional attribute for the<video>tag. It specifies whether or not to start playing the video file as soon as it is loaded. You can use this attribute if you want to play your video file automatically without user interaction. However, this attribute may be ignored by some browsers or devices for user experience or data-saving reasons.loop: used to make the video continuously repeat.
There are many other attributes that you can use with the <video> tag, such as loop, muted, preload, poster, width, height, and more. You can learn more about them here.
Embedding Videos
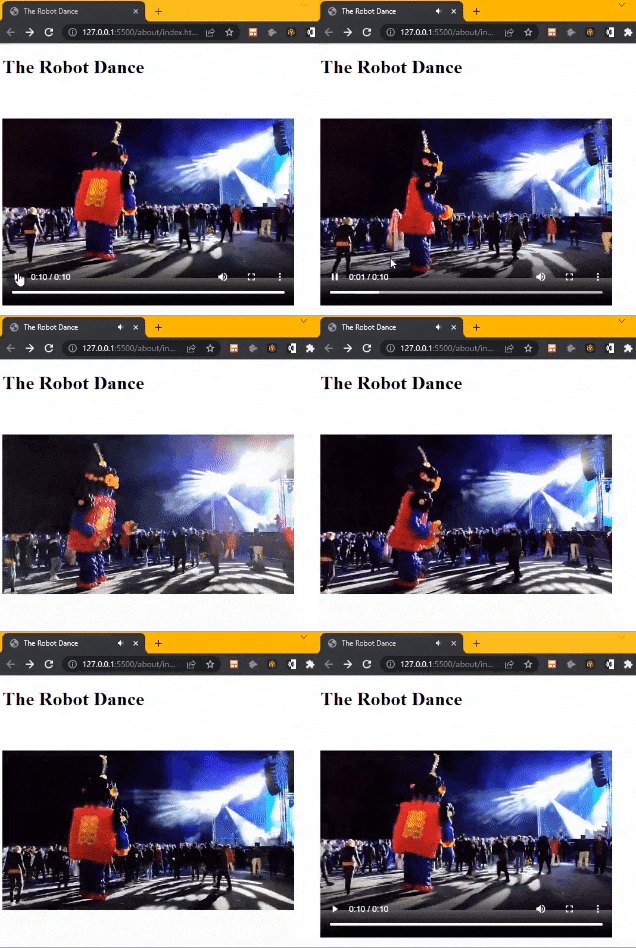
<h1>The Robot Dance</h1>
<video controls>
  <source src="video.mp4" type="video/mp4">
  <source src="video.webm" type="video/webm">
  Your browser does not support the video element.
</video>

What You've Learned
In this chapter, you’ve explored how to add images, audio, and video to your web pages. You’ve learned how to use relevant attributes to customize your media elements. You’ve also discovered how to make your media elements user-friendly and accessible by following best practices.
Next in the Series: Creating Forms
Coming up, you'll dive into the world of web forms. You'll learn how to implement forms using HTML. Stay tuned!

